Make Your Flash Drive's Icon in Windows Look Like the Actual Drive
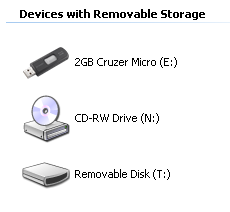
One annoying thing about owning several USB flash drives is that Windows makes them all look the same, using some generic icon that looks more like an old external modem than a flash drive... and it calls them all "Removable Disk". Want to make each of your flash drives look/labeled differently? You've come to the right place.
Step 1: Download the Icon for Your Flash Drive
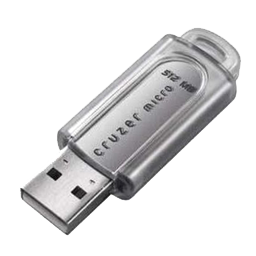
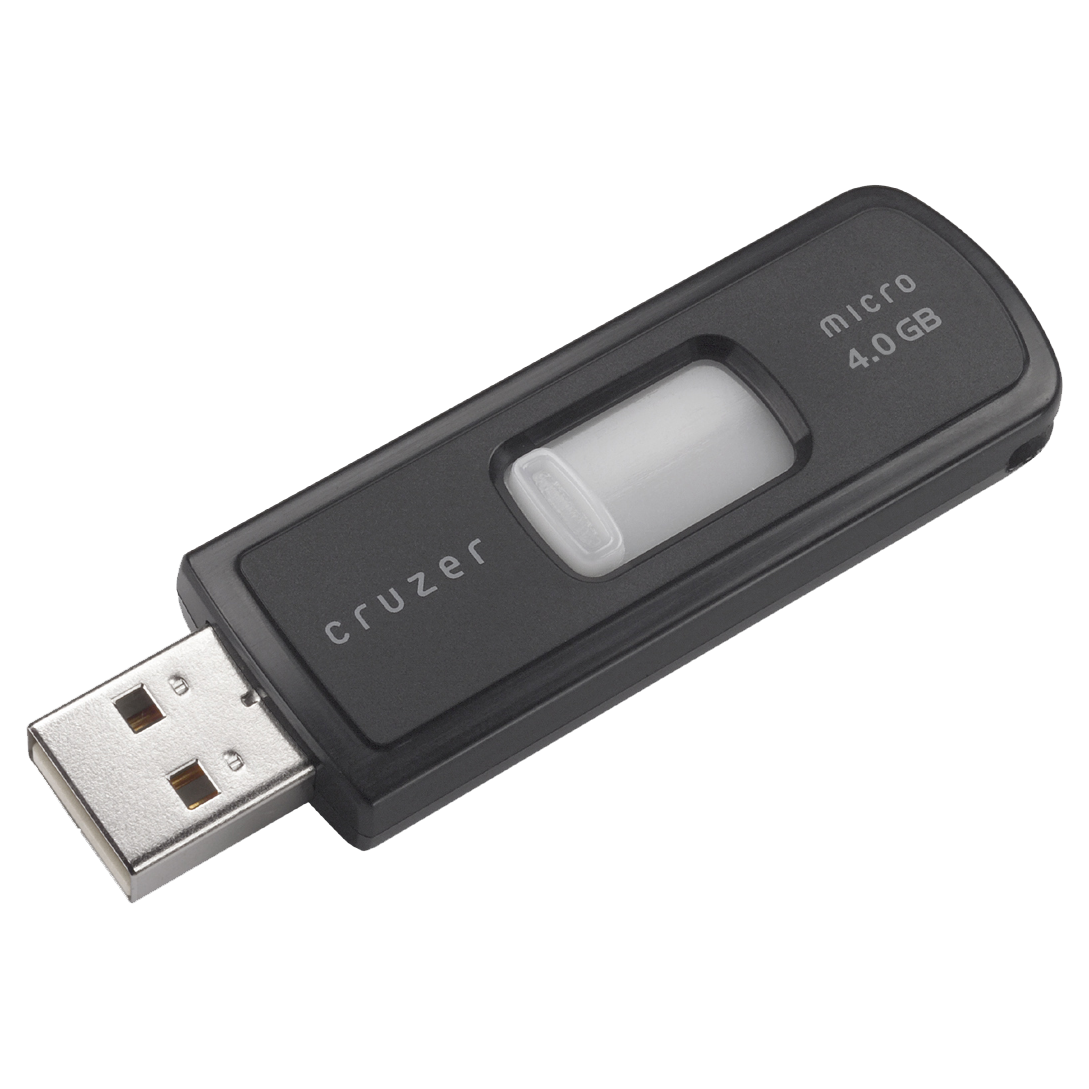
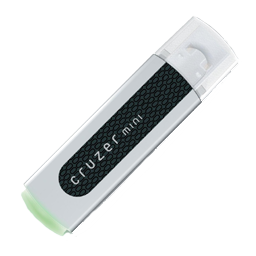
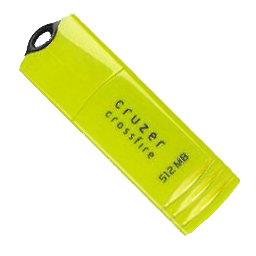
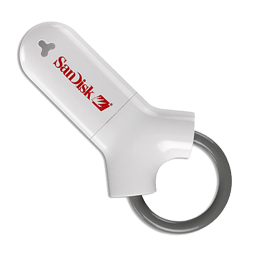
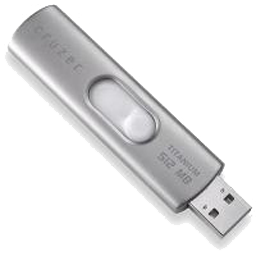
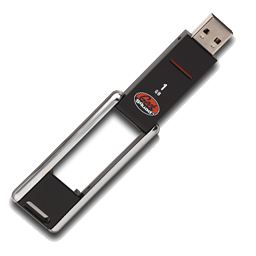
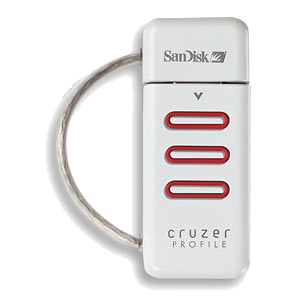
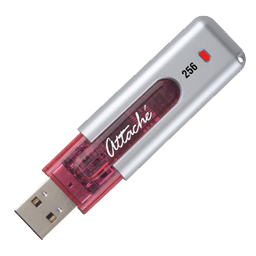
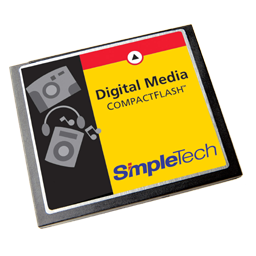
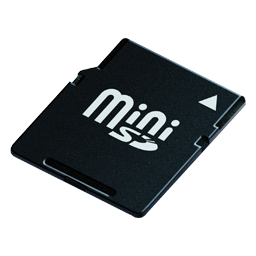
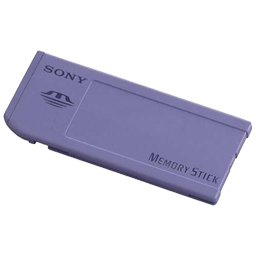
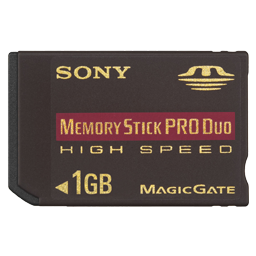
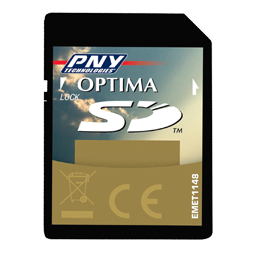
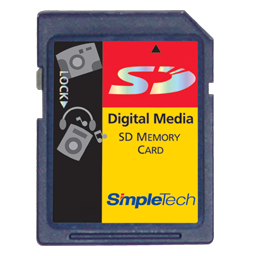
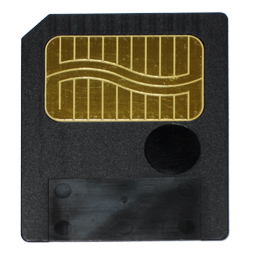
There are plenty of pages that have tips on doing this kinda thing, but they don't offer the actual life-like icons. That's what I offer. So far, I only have a handful converted into icons. If you have a different one, let me know and I'll add it. Clicking on the picture or text should cause your browser to download the icon that looks like it. Save this icon on your flash drive. Personally, I like to put them in a folder called "Icons" so that they're not sitting there in the root directory.
|
|
|
|
|
|
|
|
|
|
|
|
|
|
|
|
|
|
|
Step 2: Create/Edit Your "autorun.inf" File.
When you insert any media into your PC (CD, USB flash drive, memory card from your camera, etc.), Windows looks for a file in the root directory called "autorun.inf" for some instructions on what to do with it. One of the things you can specify in your autorun.inf is what icon to use for the drive.
If you already have a file named "autorun.inf" on the drive, you can probably open it in Notepad by double-clicking on it or by right-clicking on it and selecting "Open" from the pop-up menu. If you do not have this file already, you can just create a new text file and rename it to "autorun.inf" and then opening it.
If you created a new file, just copy and paste the following into the file, modify the "icon=..." and "label=..." the name of the file to match the one you downloaded (and also remove/change the "Icons\" part if you didn't save the icon into an "Icons" folder), and then save the file.
[autorun]If you already had an autorun.inf, then there's probably already an "[autorun]" section there. If so, then just add or replace the "icon=...." and "label=..." parts.
icon="Icons\PNYAttache.ico"
label="PNY Attache 256MB"
Note: For more info on what you can do with the autorun.inf file, check here (friendly explanation) or here (Microsoft's technical explanation).
Then, save the file and exit Notepad.
Step 3: Remove the Drive and Re-insert it.
With any luck at all, it should now appear in "My Computer" looking like the actual device (like my screenshot at the top)
The End - joe@emenaker.com